Hi Everyone, As we settle in to the New Year and promise to cook at home more often, I want to do my bit to help you. Throughout the year I’ll be gathering your questions and answering them in this column, so, feel free to send in your questions: Cynthia@tasteslikehome.org.
In this first installment we’ll look at the following:
- How to store tomatoes
- Cooking with low fat and non-fat milk products
- Substituting greaseproof (wax) paper for
parchment paper
- How to not burn your garlic when cooking, unless a recipe specifically says to do so
Storing tomatoes
 If you shop exclusively at a supermarket, particularly here in the Caribbean, you will notice that tomatoes are stored in the refrigerated section. These tomatoes are usually imported, and to maintain temperature control, because they have been picked and packed early to travel for long distances, when unloaded, they are put into the refrigerated sections (of supermarkets) to maintain ‘quality’ control. These tomatoes are not yet fully ripe and still need time to mature. All tomatoes (local or imported) are meant to be stored at room temperature. Period. The only time I would advise that you put whole tomatoes in the refrigerator is if your tomatoes are about to get overly ripe, will not be eaten raw, and you plan to put them in stews, curries, soups or to sauté them with other ingredients.
It is important to note that imported, refrigerated tomatoes are not sold exclusively in supermarkets; many vendors in open-air markets also sell them. If you do purchase, remember to keep them stored on your countertop and not in your fridge. The cold from a refrigerator damages the membranes in tomato cells causing the flesh to bruise; this results in a compromised taste and texture of the tomatoes. You will notice the texture is mealy and the taste is bland. Tomatoes, regardless of the variety have particular flavours and unique textures. It is for this reason that some tomatoes are preferred for certain recipes and preparations.
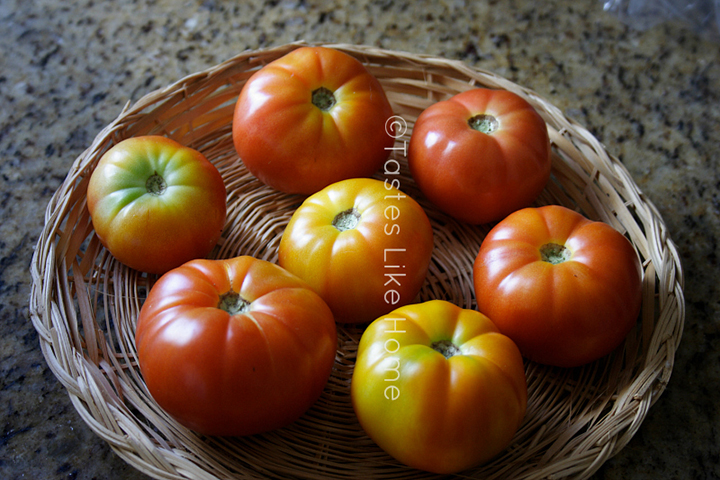
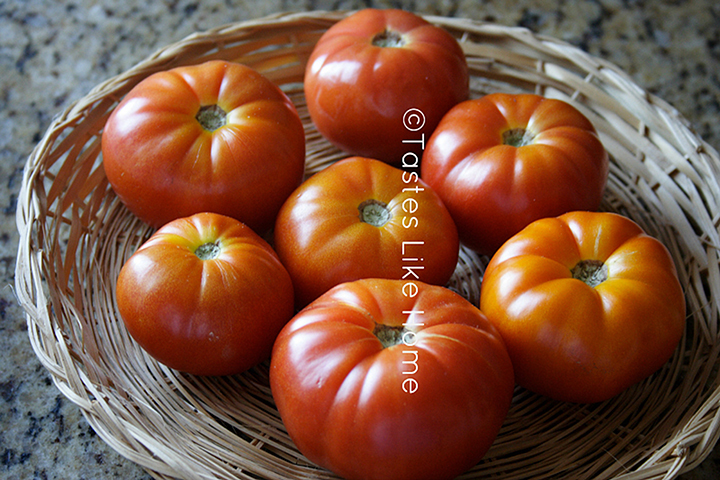
Store tomatoes on your countertop in a basket or in something open where air circulates at the bottom and sides. Place the tomatoes stem-side up, just as they grow on the vines. When buying tomatoes, do not be afraid to select tomatoes that are fully or partially green or yellow, they will ripen nicely on your countertop at room temperature. When tomatoes are in season, pick up a variety at various stages of ripeness so that you have to last you for a while and they would not become overripe too quickly. Use the same rule of thumb when buying bananas.
Cooking with low and non-fat milk
Low fat and non-fat milk products should not be brought to a boil when cooking or being heated. With nearly all of the cream (milk fat) having been removed from the milk, the composition of the milk changes when it is placed under certain conditions – such as over-heating. The changed pH balance in the milk results in the milk clumping, or, in other words, curdling.
Many people are watching their fat intake and may be switching from whole milk to a low or non-fat version. That’s all well and good for tea, coffee and other applications that do not require the milk to be heated to boiling point. However, if you want to use low and non-fat milk in your cooking, only heat the milk over medium-low heat and watch it like a hawk to prevent it from curdling. If you want to be scientific about it, do not heat the milk above 180 degrees F.
On the other hand, if you want to make your macaroni pie and other dishes that require the milk to be brought up to boiling point, adding an ingredient such as cornstarch will stabilize the milk at boiling point and prevent it from curdling. The starch will simultaneously thicken the milk too.
Substituting greaseproof paper
for parchment paper
If you ever find yourself in a baking situation where you run out of parchment paper (aka baking paper), and you are thinking of substituting with greaseproof paper, don’t. Here’s why. Greaseproof paper is coated with paraffin wax, which is not meant to be heated. It is for this reason that if you use it to line your baking pans/tins, you will find your food sticking to it. The paraffin coating will melt and adhere to the food and you will have a heck of a time removing it, or if you can remove it, you will notice that you will also be tearing away a part of the food that you cooked.
On the other hand, parchment paper is coated with a nonstick, heat-absorbent silicone and works better with hot foods and is perfect for lining baking pans/tins.
Greaseproof paper is more suited to separating and storing cooked foods. For example, when cooking dhal puri, always put a piece of greaseproof paper between each dhal puri to prevent them sticking and steaming. The same thing goes when making crepes. Greaseproof is ideal for wrapping baked goods and storing in plastic containers. The paper keeps the food moist and prevents spoilage.
Paraffin wax is edible and is used to coat fruits and vegetables so they look all shiny and pretty. You will find this coating mostly on imported items as they help retard moisture loss and spoilage. Like I said, the wax is edible but if you buy fruits or vegetables with the wax coating, still give it a wash before using, particularly if you are going to be consuming the outer skin.
Prevent garlic from burning
Garlic is a staple in almost all kitchens and we use it heavily in our Caribbean cuisine. Much of the flavour of garlic is lost if we let it burn and that burnt flavour would permeate the entire dish. The reason why garlic burns so quickly is because it has a lower water content than many other plants. And because recipes usually call for the garlic to be minced finely or to be sliced thinly, these tiny bits are more susceptible to direct heat. The solution is very simple, if a recipe calls for sautéing garlic alone, cook it on low heat along with a little more oil than recommended and give it a stir a few times. If a recipe asks you to cook the garlic along with other ingredients such as onions, herbs or tomatoes, add the other ingredients to the pan first and let them cook for 1 – 3 minutes before adding the garlic, this way, the other ingredients will have released some moisture that will prevent the garlic from browning too quickly, and allowing it to impart its flavour.
On this perfumed note of fragrant garlic, I will take my leave. Don’t forget to send in your questions to: Cynthia@tasteslikehome.org.
Cynthia