![]()
A couple of years ago, in my Tastes Like Home column, I had written about my experiments using hardened coconut oil (liquid coconut oil that solidified when refrigerated) to replace butter in pastries, cakes and other treats like scones and biscuits. At the time I had shared the recipes for making a coconut oil pound cake and short crust pastries.
Over the years I have made many types of scones but these are my favourite. Before you dive into the recipe, it is important that you read the following notes.

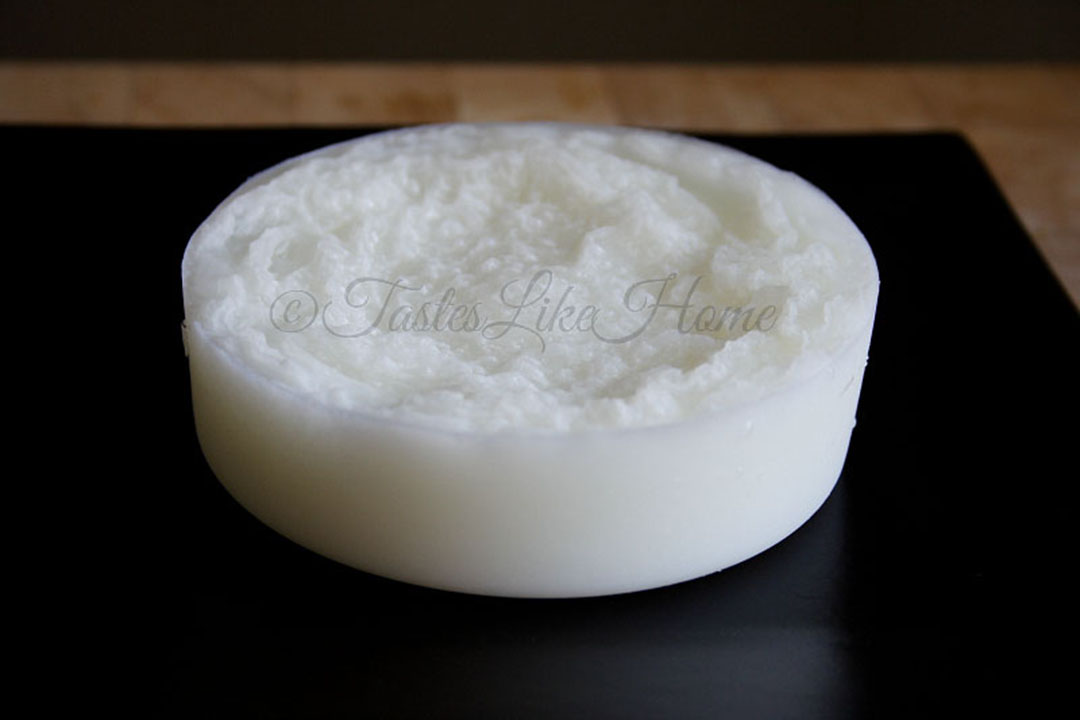
Hardened coconut oil after overnight refrigeration Photo by Cynthia Nelson This recipe requires that the liquid coconut oil be refrigerated overnight so that it gets cold and very hard. The oil once hardened does not cut as easily as butter and that is because it is a pure fat without water (butter has in some water). Therefore, you will have to chop off large chunks.
- To get the measurement for the coconut oil to use for this recipe, pour the liquid oil into a 4-ounce container and refrigerate to harden.
- Scones are to be made with very cold ingredients so that they can rise and produce a tender crumb when cooked, therefore, chill the freshly grated coconut in the refrigerator or better yet, measure and put it in the freezer.
- The fresh coconut can be substituted with dried coconut flakes, however, do not use the sweetened version. And just like the fresh coconut, put it in the refrigerator to get really cold before using it.
- With regards to the topping, if you do not have castor sugar, which is a finer grain of the regular white granulated sugar, then use regular granulated sugar.
- Hardened coconut oil reacts differently in various temperatures than butter, therefore, when you make the dough and have patted it into a round disk, put it in the refrigerator for 30 minutes or the freezer (right on the lined baking sheet) for 15 – 20 minutes before cutting into wedges, adding the topping and baking. This is to firm up the dough. Work quickly when making these scones.
- I highly recommend that you use a food processor to make the dough as it would take too long to cut the hardened coconut oil by hand and cause the hardened oil to melt. Remember what I said above about the hardened oil reacting differently than butter in warm temperatures. Using a pastry blender might prove difficult as well because of how hard the oil is once refrigerated.
- You may need to use a little more milk for the dough depending on your location.
YIELD: 8 – 10
INGREDIENTS
For dough:
- 2 cups all-purpose flour, plus extra for work surface
- 1 tablespoon baking powder
- ½ teaspoon ground cinnamon
- 3 tablespoons white sugar
- 1/8 teaspoon salt (a pinch)
- 1 cup freshly grated coconut, cold
- 4 oz cold, hardened coconut oil, chopped into pieces
- ¾ cup cold whole milk
For topping:
- ¼ cold whole milk
- 2 tablespoons castor sugar
- ½ teaspoon ground cinnamon
DIRECTIONS
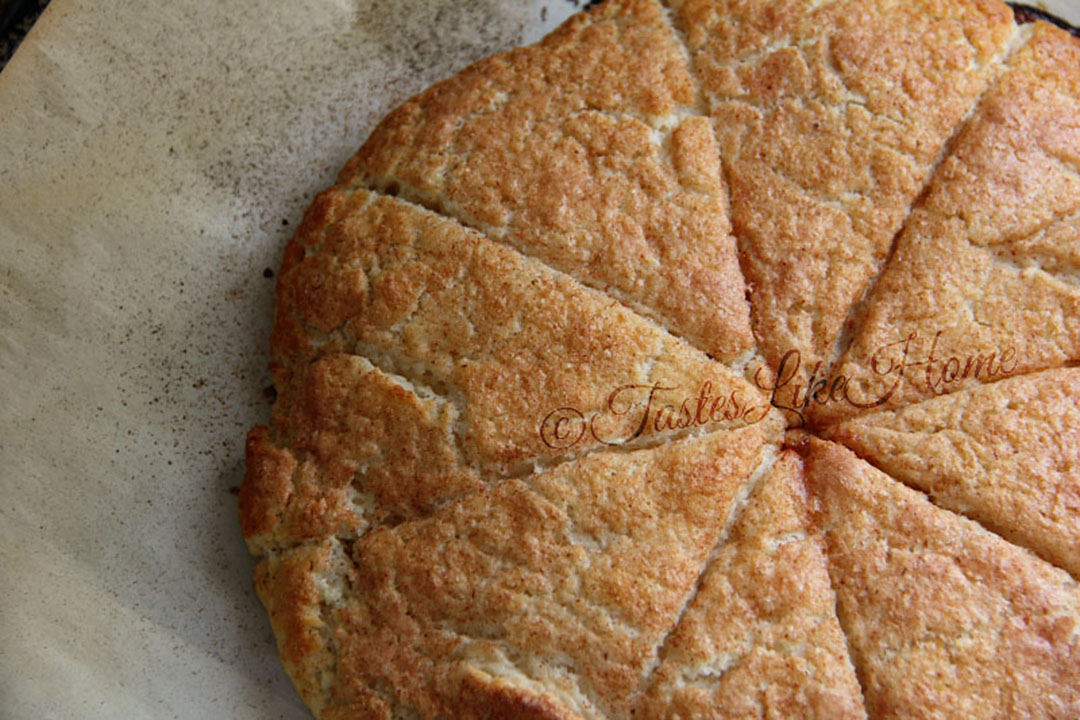
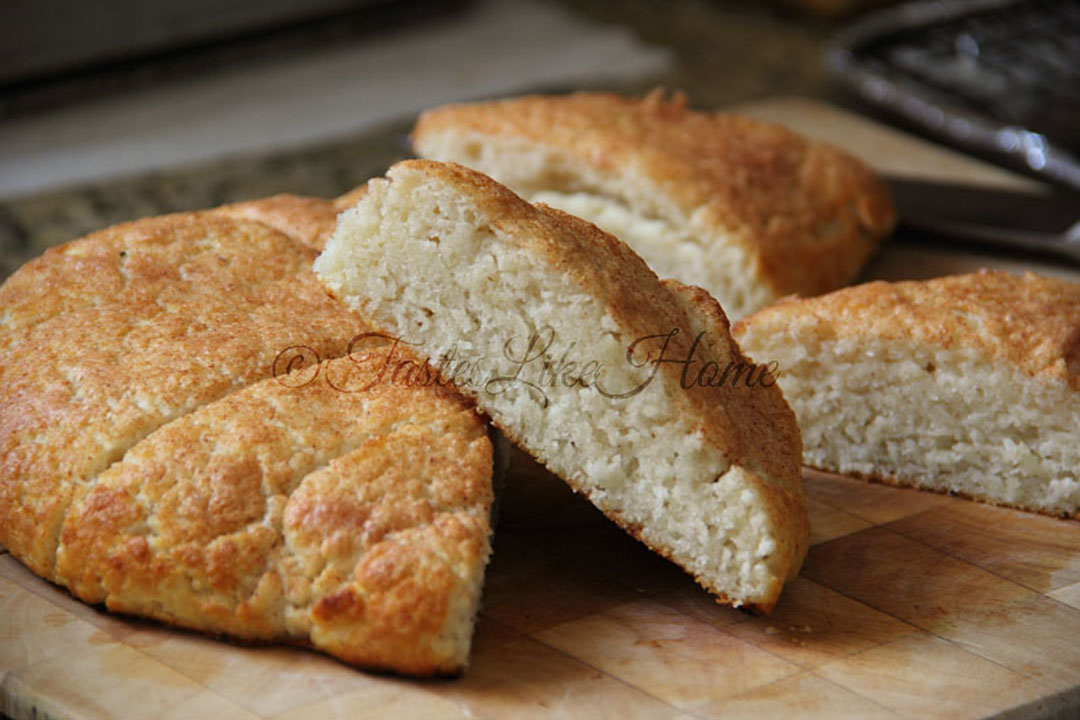
Coconut Oil Coconut Scones By Cynthia Nelson Mildly sweet, tender Coconut Oil Coconut Scones By Cynthia Nelson Line a baking sheet with parchment paper and set aside.
- Shift the flour then mix well with the baking powder, cinnamon, sugar and salt. Add the mixture to the bowl of a food processor.
- Add the grated coconut to the flour mixture and pulse a couple times to mix in.
- Add the hardened coconut oil and pulse until the mixture is coarse.
- With the processor running, pour the milk through the opening at the top and then stop the processor. Open the cover and test the dough by gathering a little of it with your fingers, if it comes together, it is done, if not, replace the cover and add a little more milk until it can come together easily. Do not over work the dough. It is supposed to be a little crumbly but not dry.
- Flour a work surface and turn out the contents of the bowl onto the surface. Flour your hands and bring the dough together patting it into a thick 6-inch disk.
- Carefully transfer the disk to the lined baking sheet and put in the freezer for 15 – 20 minutes or until hardened (30 minutes if in a refrigerator).
- Meanwhile, preheat the oven to 425 degrees F and mix together the cinnamon and sugar for the topping and set aside.
- Remove the pan from the freezer/refrigerator, cut dough into wedges or rounds/squares with a cookie cutter or glass. Brush with milk and sprinkle with cinnamon sugar.
- Bake for 18 – 20 minutes or until scones are brown and the top crusty.
- Rest in pan for 5 minutes then transfer to a wire rack to cool. Serve warm.