 What’s Cooking is a series in which I answer questions and share advice about food and cooking that you have but may be too shy to ask.
For me when it comes to chips (aka crisps), nothing, beats plantain chips. They are crisp, thin, and absolutely delicious. Homemade is the only kind of plantain chips that I eat. If I lived in Guyana or some other place where folks made plantain chips daily and sold as street food, then yeah, I would buy but I refuse of purchase any imported plantain chips, particularly here in the Caribbean.
The two-fold question I received a couple of weeks ago from a reader was how to keep the chips crisp and when to add salt to the chips.
Plantain prep
Once the plantains are peeled (watch out for the milky substance when you cut the top and bottom tips because it stains your clothing), they need to be sliced thinly. Thinly sliced plantains ensure crispness when cooked and cooled. The plantains can be sliced using a

sharp knife or a slicer. There are various types of slicers such as a mandolin. The slicer I use, I bought in Guyana a long time ago. It is like a one-sided, hand-held grater and has a single blade, that cuts thinly. As I said, you do not need special equipment, just use a really sharp knife, and slice the plantains as thinly as possible. You will notice that as you slice, the plantains release some starch that results in the slices sticking together. There is nothing to be done about that. However, you have to ensure that when you are frying the chips, you separate the slices before adding them to the oil, if you don’t, they will stick together and may not crisp up as they should.
Frying station
Wire racks/cooling racks are great for resting and cooling many things including fried foods. The air circulates around the food cooling it faster and allowing things to stay crisp all around, not just at the top. Line the racks with kitchen paper towels such as Bounty or whatever brand you use. Rest the racks on the kitchen counter nearest to the stove so that transferring the chips from the pan to the racks is easy.
A spider spoon is ideal for use when frying because it holds the food and lets the oil fall and drip away as the food is removed from the pan. If all you have is a slotted spoon, that works too. The bottom line is to use a cooking utensil that has holes so that the excess oil can be easily drained off.
For seasoning, use fine table salt. Stay away from large flaked salts this time; you don’t want a big burst of salt overpowering the chips, the fine table salt is perfect for the delicateness of plantain chips and will adhere better.
Speaking of salt, if you like, you can raise your game a little by applying some flavour to your regular salt. Simply mix one of the following with the salt and then apply to the chips as they come out hot from the pan – ground cumin (jeera), regular or smoked paprika, black pepper, ground cayenne pepper or ground garam masala. There are other spices flavours but the ones I mentioned are easily accessible.
The pan, oil, cooking and salting
I use a cast iron skillet to fry my plantains chips, but any type of skillet would do – stainless steel, aluminium, non-stick, whatever you have. A karahi works too but I find that because of the shape of a karahi, you would need to add more oil and it would not give you the kind of surface area needed so that you can fry a good batch at one time. You could only get the breath needed closer to the middle of the karahi, for that you would need to fill it with oil to get to that height, completely unnecessary for plantain chips.
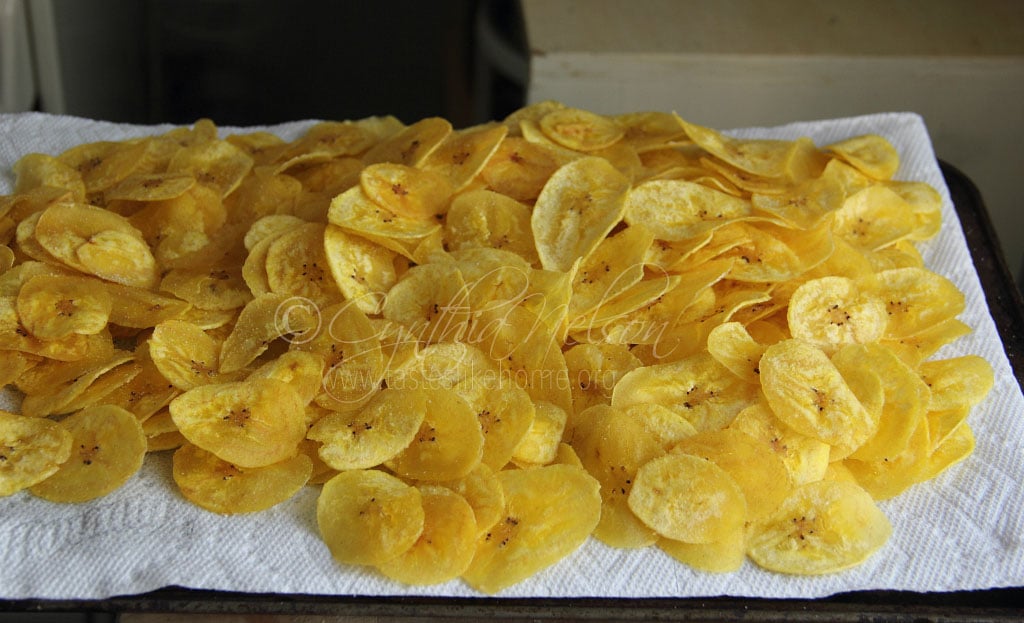
Fill the pan with an inch or just a little more with oil and place over medium heat to get hot. Look at the surface of the oil, when it is shimmering, the oil is ready, or you can drop a slice of plantain into the oil, if it sizzles immediately the oil is ready. Working in batches, add the slices one at a time to the pan covering the entire surface of the pan. The oil will bubble as the plantains cook and you will hear them frying. Do not step away, it takes only about a minute for the chips to cook (plantains sliced thinly and oil properly heated). Now you want to engage with your sense of hearing. As soon as the sound of the frying subsides, the chips are done! Do not be bothered if they do not look as golden, when the chips are removed from the pan, their colour deepens, just like garlic chips. I want to repeat this – as soon as you hear the oil quieten because the bubbles would have subsided, the chips are done, remove them immediately from the pan.
When I scoop up the chips, I tap the spoon at the side of the pan to shake off any excess oil; do the same. Transfer the chips to the lined wire rack, spreading them out, instead of placing them in a heap and immediately sprinkle the chips with salt. This way, the salt will stick to the chips, and stay intact at the chips dry, cool and continue to crisp up. If you do not add the salt immediately, it will not adhere to the warm or cooled chips. What will happen is that the salt will melt as it continues to sit and affect the chips from staying crisp for an extended period of time; that is, beyond the couple of hours since they have been cooked.
After each batch, let the pan come back to temperature for a minute before adding another set of sliced plantains to cook.
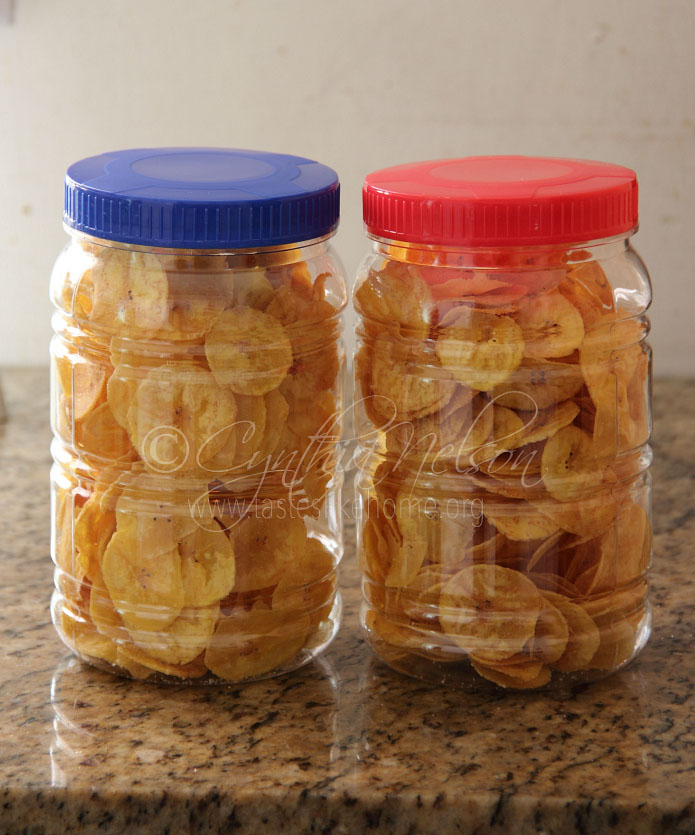
Storing
Spread all the cooked chips in an even layer on the lined wire racks and leave to cool completely. I usually leave mine for about 2 hours. It is very important that the chips are cooled completely before storing. Of course, you can eat the chips right away, but I am thinking that you are making enough so that you can have snacks for a couple of days. Store the cooled chips in airtight containers, preferably those that have lids that you can screw tight. And each time you access the chips, be sure to cover tightly. Kept properly, your chips will last a little over a week and stay crisp and fresh, but let’s be honest, those chips ain’t gonna last that long. Mine never do.
Cynthia
cynthia@tasteslikehome.org